Designing a Chanel advert
In order to strengthen my editing skills, I wanted to design an ad campaign which would be reminiscent of Chanel's Valentines day ads shown on social media. Due to the pandemic, I did not have access to the software that would give me the desired effect, however, I will explain my plans anyway. The software I used was the free editing software, GIMP.
Mood board of the valentines day adverts shown on social media as well as other memorable campaigns/products:

I wanted to use Chanel no.5 as the central product, this is due to it's history within the fashion house. Noted by the BBC, the history of the perfume is that Coco Chanel wanted to create a perfume which 'could describe the new, modern woman she epitomised.' Ernest Beaux, a perfumer, took up Chanel's challenge and created 10 samples for her to try. He numbered them 1 to 5 and 20 to 24 - Coco picked no. 5. (1)
In my mood board, there is an advertisement with the tagline, 'Chanel becomes the woman you are.' I thought this encapsulated the essence of the brand and decided to use that as the tagline within my design. Whilst I think the captions of the valentines adverts are charming, I wanted something that could be universal - the caption from the 1950's advert is just that.
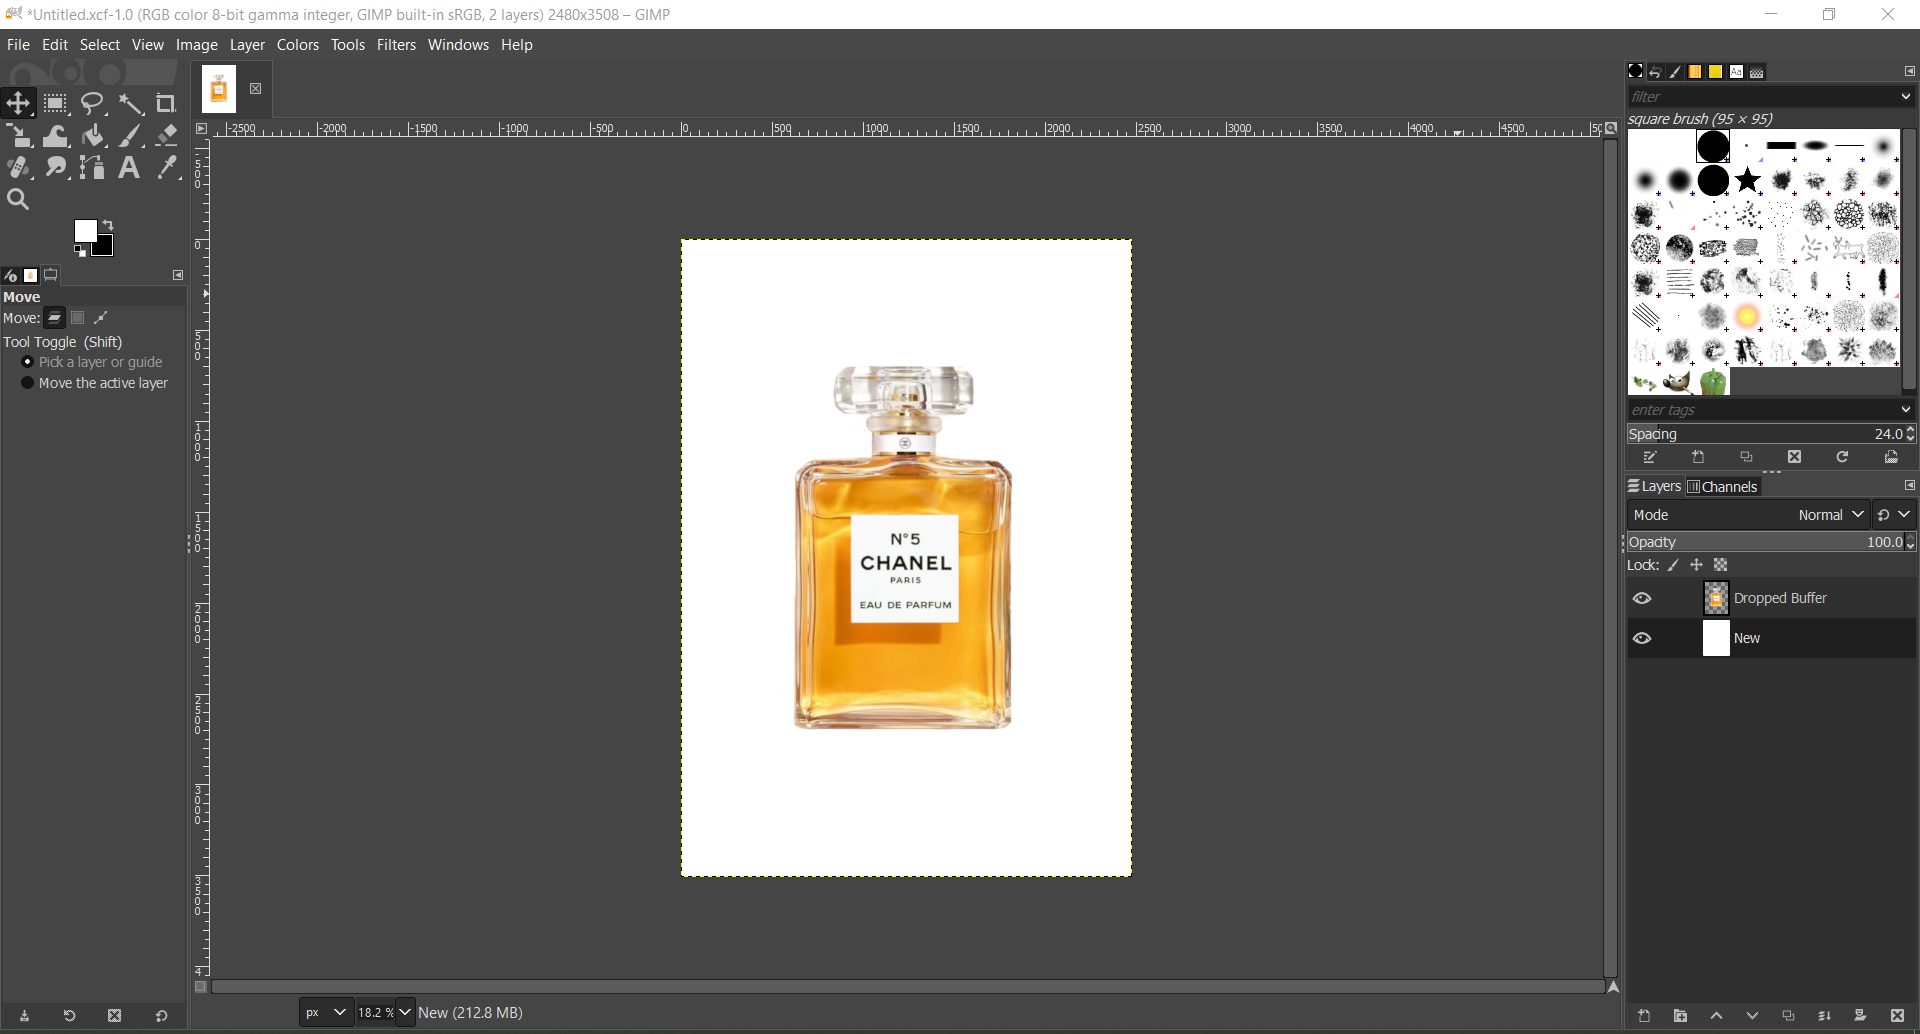
Removing the background so the image is free to be moved around.
My first step was removing the white background from the image so the Chanel bottle stands freely on it's own. As you can see from the layers section, I did achieve this. To remove the background of the original image, I used an alpha channel. I added a layer mask, using the white opacity to trace around the image. By doing this, it makes the background transparent. This was highly tedious, however, it ensured I got the best results.


If you look closely in the Chanel adverts, you can see a small crease line as though the image has been folded. As I didn't have access to Photoshop, I couldn't achieve this.
- I would add a blank layer, in between the text and the grey Chanel image
- I would place 2 guides: 1 vertical guide at the middle of the page, the other guide will be a horizontal guide also in the middle of the page.
- Using the rectangular marquee tool, I would drag an outline around the first section.
- I would select the gradient tool, using the black to white filter.
- I would drag the filter diagonally from the left corner to the top right corner
- For the next 3 sections, I would alternate it from: the top right corner to the left corner; then the left corner to the right corner
- I would change the blend mode to 'Soft light'
- I would apply the plastic wrap filter onto the image
Finish Result:

(1) https://www.bbc.co.uk/news/world-13565155#:~:text=In%201921%2C%20a%20clever%20French,the%20world's%20most%20iconic%20perfume.
Comments
Post a Comment